Now that its the time of year where we think about starting seeds for the garden, its time to test the viability of the seeds we already have. Normally that wouldnt be too much of a concern to us, but we got distracted last fall (were very easily distracted), and left our seed collection out in the garage all winter (and exposed to all the freeze-thaw cycles that a Colorado winter entails). Also, when we went through our beekeeping stuff (which had been in storage since 2010), we found a bag with another dozen seed packets or so, which in addition to this winters cycle, were exposed to other varying amounts of winter-summer cycling in the upper midwest.
Through all of this, the seeds had no humidity control, no real protection from bugs, or mice, or even nanites, and some dated back as far as 2008! Since temperature fluctuations and moisture content are critical parameters in how long seeds remain viable, we need a test to decide which seeds to keep and which to toss in the compost. Yay, an excuse to do an experiment!
Quite a collection weve got here! OK, seeds, which of you is going to grow when we plant you in the ground?
We took ten seeds from each packet (unless there were fewer than ten left). We were going to put them in a paper towel, but we (Jake) couldnt find any around the house. How about this miniature roll of paper towels from the bathroom?
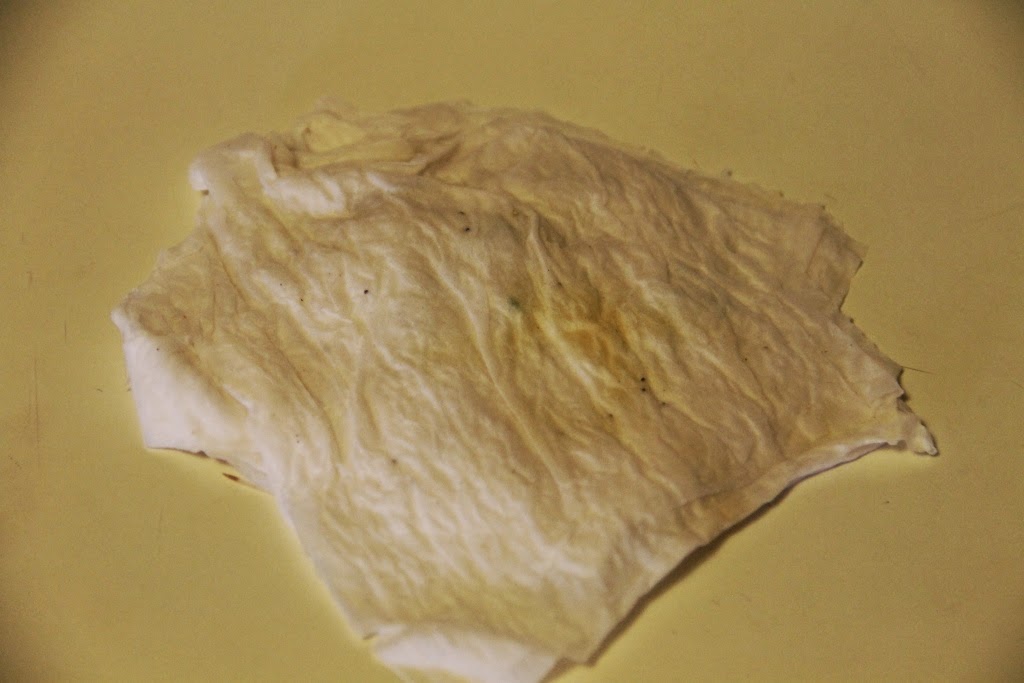
We folded the ten seeds in the middle of the conveniently sectioned-off squares and wetted the paper with a squirt bottle. (In hindsight, using this type of paper towel was a bad idea. It was a nightmare to try to tease apart the wet layers to find the seeds and inspect them for germination.) Its a good idea to get the paper as saturated as possible because some of the water will evaporate. Having a uniform moisture level is an important control, and we were a little bit out of control on this parameter.
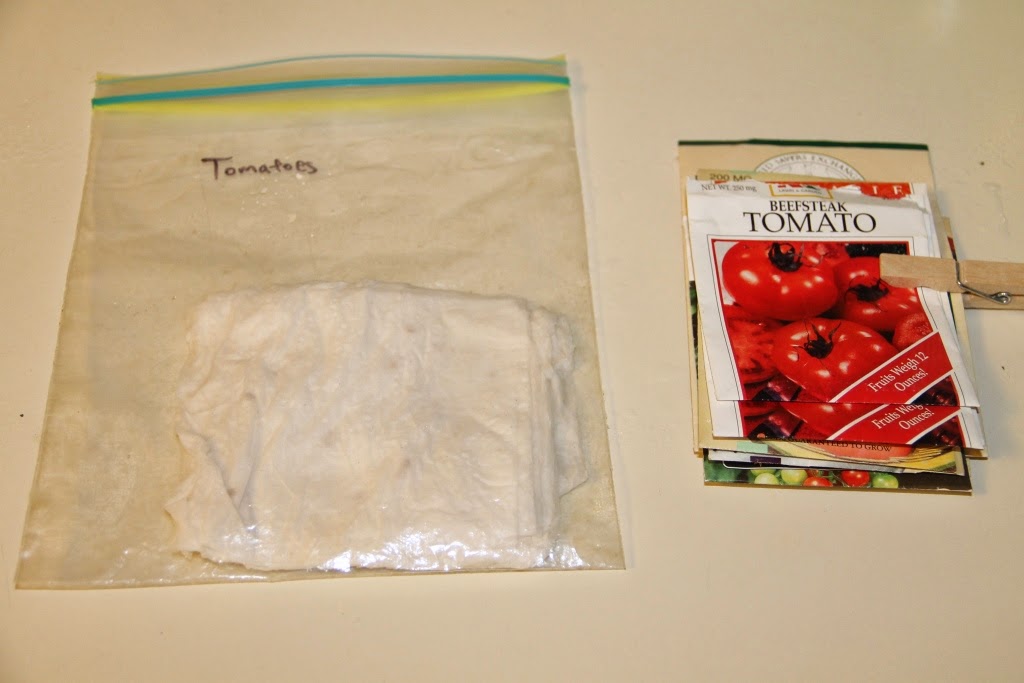
We grouped a bunch of like-feathered seeds into a flock and stacked them in a plastic bag. We stacked the seed packets in the same order so we could keep track of which was which. (In hindsight, stacking them together was also a bad idea because roots and shoots had no respect for boundaries between layers. Sometimes, roots from the top layer would come out the other side, which was part of the reason it was so hard to pull apart the layers. Individual plastic bags or something like wax paper between each variety would have helped.)
Some of the seeds thought they were partying on spring break.
We stacked all the bags in a white tub, and since the spring chickens dont need the heat lamp yet (they wont be born for another five weeks or so), we borrowed it to make one corner of the dining room a little hot pocket. The lamp like this kept the temperature at about 85 °F.
A week later, we took out the paper and counted how many seeds of each had germinated. We should have done this step sooner, since some of the fast-sprouting seeds, like cucumbers and swiss chard, had taken over the paper, and had preliminary designs for how to break through the plastic bag already drawn up.
The good ones we planted in dirt to see how theyd do. (After one day in dirt, most look healthy!)
...and heres the data! An Excel file with numbers for each variety can be downloaded here, but the graphs show the different classes of veggies grouped together. If there was more than one variety, the bar represents the average (generally different varieties of the same group performed similarly, the exceptions being beans and radishes). A couple of notes: the pumpkins were from 2008, and there were only nine seeds in the packet. One of the carrot seed packets was from 1997! The swiss chard was so unruly that it was impossible to tell which plants came from which seeds. We tested 30 seeds and ended up with 45 sprouts that readily detached from the seed, so we just assumed all of them worked (it seemed fair).
Some of the variation here could be due to differing moisture levels--some of the paper was fairly dry when we opened it up, and those seeds appeared less viable (the driest ones were the carrots, lettuce, peppers, and tomatoes). Its also possible that some of the seeds needed more time to germinate, but since we could see cucumber roots after only 24 hours, we didnt want to let it go too long. Having an easier way to check on the seeds after a certain amount of time would have been helpful.
The seeds that had less than 70% germination rate went in the compost, so theyll have one last chance to prove us wrong. In any case, itll be some fresh tomato and pepper seeds for us this spring!
How do you test your seeds for viability? If you save your seeds, how do you make sure they remain viable through the winter? Let us know in the comments section below!


0 komentar:
Posting Komentar